
Old Family Photos: What Restoration Can Recover and What Is Gone for Good
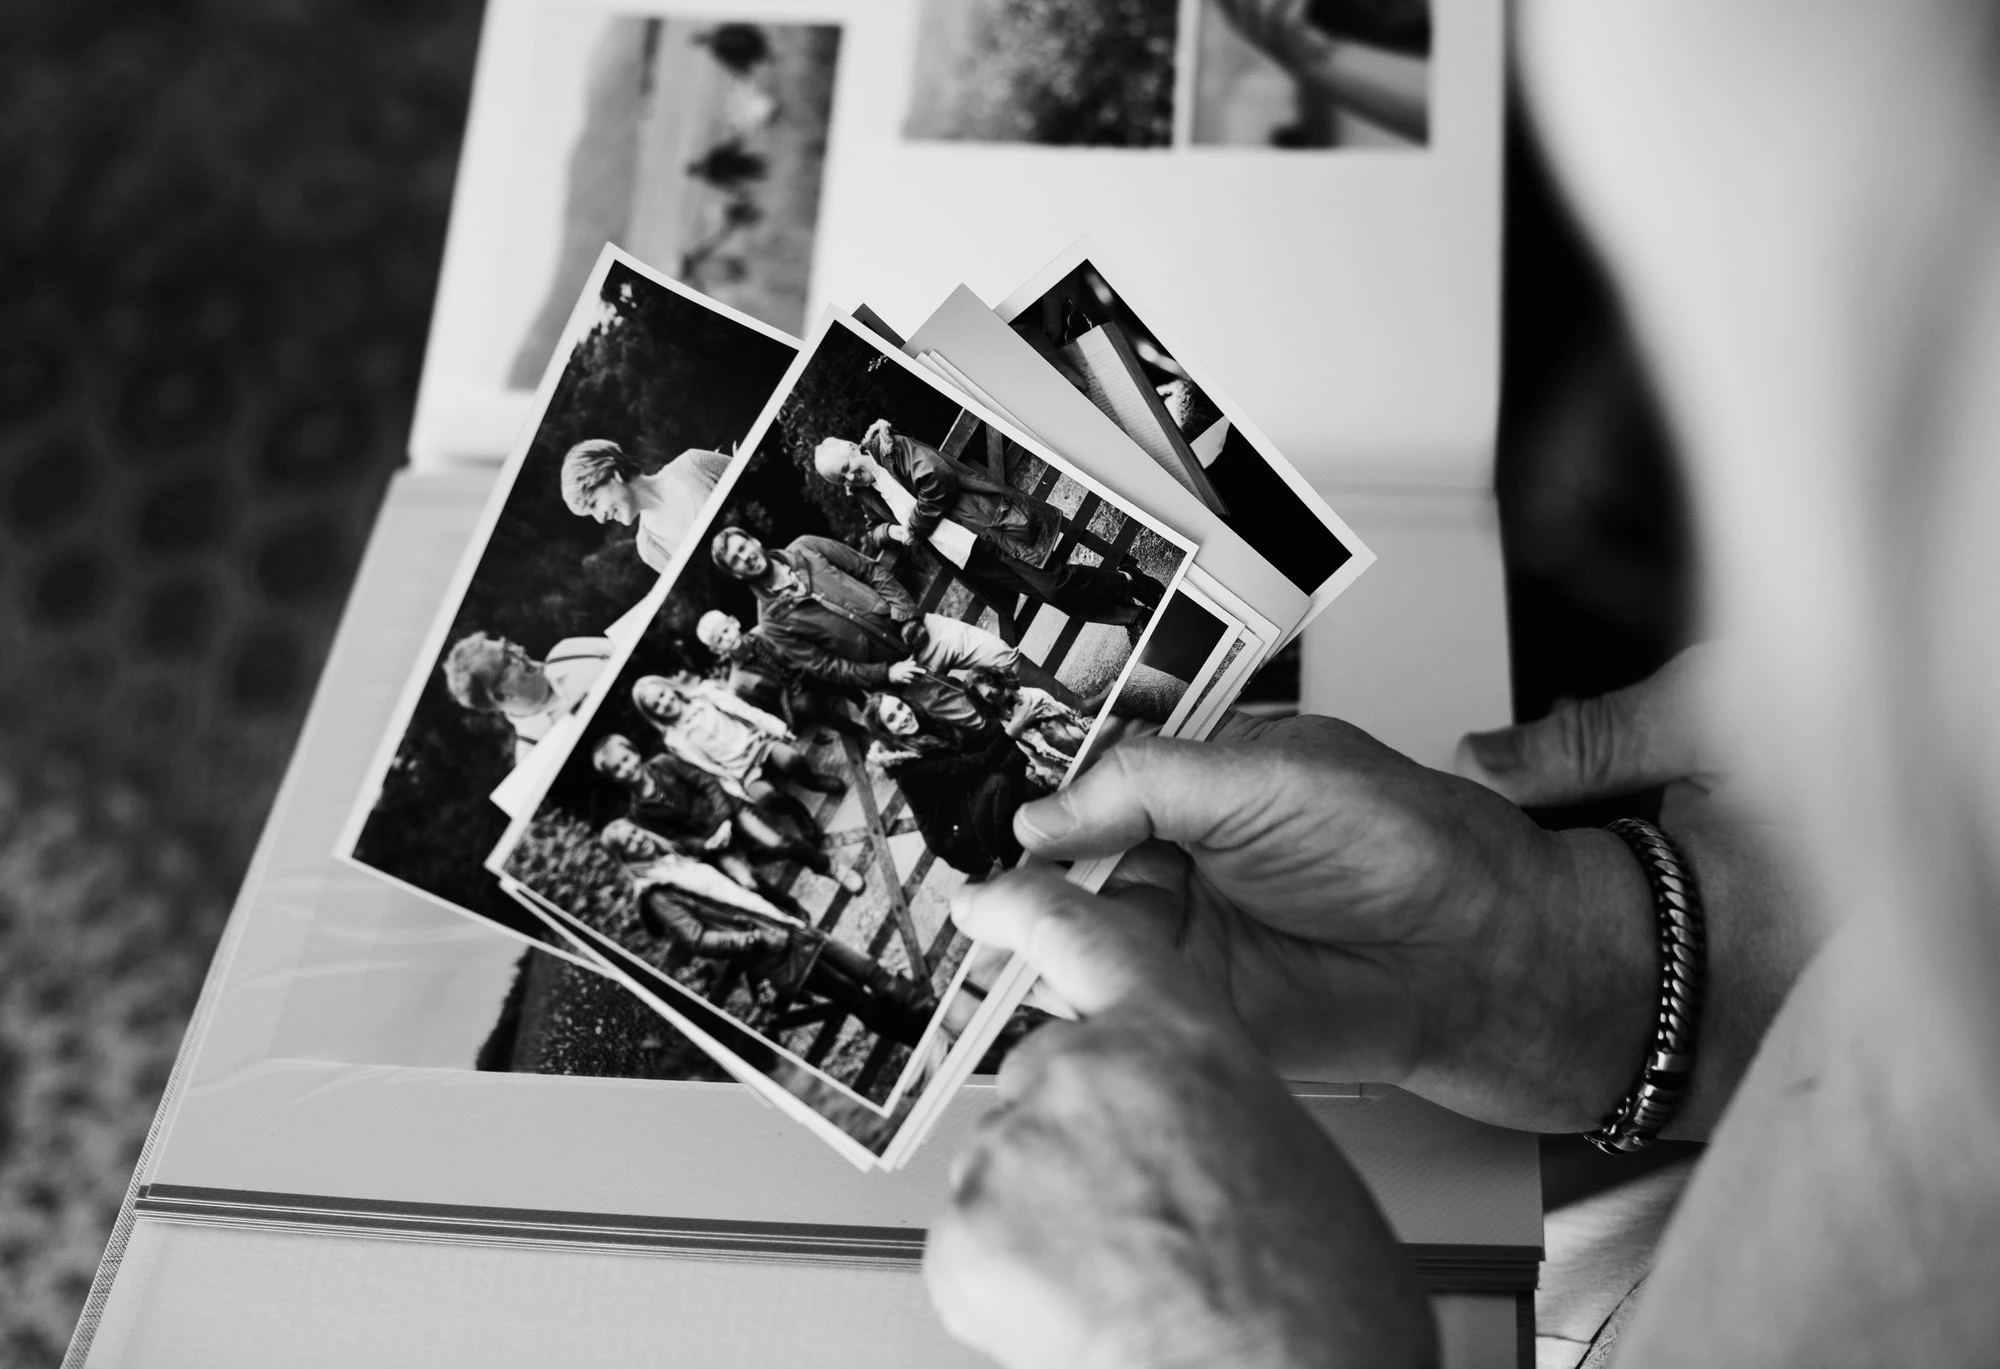
Almost every family has a shoebox somewhere: curled prints, cracked studio portraits, color snapshots from the seventies slowly turning orange. Scanning them is a natural first step, and the next question follows quickly: how much of the damage can actually be repaired?
Digital restoration can repair the appearance of scratches, creases, stains and fading without changing the original print. In the RetouchMe photo editor app, for instance, restoration is done by a designer rather than an automatic filter, which matters when a scratch runs straight across a face. What no editor can do is recover information the photo never captured or has lost completely, and knowing the difference saves a lot of disappointment.
Damage That Can Be Reversed
Most damage in family archives sits on the surface, and surface damage responds well to careful retouching. Typical repairs include:
- scratches, creases and cracked emulsion;
- small tears and missing corners;
- stains from water, tape or fingerprints;
- faded color and yellowed paper tones;
- dust and specks picked up during scanning.
When enough detail remains around a damaged area, an editor can often reconstruct small missing sections. Larger gaps may require some guesswork.
What Is Gone for Good
Blur is the clearest limit. Mild blur can sometimes be reduced, but details that were never captured cannot be reliably recovered, so sharper-looking features may involve some degree of reconstruction. The same goes for parts torn away entirely: a missing ear or hand can be drawn convincingly, but it is a reconstruction, not a recovery.
Severe fading works the same way. When an image has almost vanished, editing can bring back contrast in what remains, but fine features may return partly as a guess. It helps to tell relatives which parts were rebuilt, especially in photos used for family history.
Colorization Is a Guess, Not a Record
Adding color to a black-and-white photo can make ancestors feel closer, but the colors are an interpretation. Black-and-white film recorded brightness only, so a gray dress could just as easily have been blue, green or red.
Family memory helps here. If an aunt remembers grandmother’s red hair or the color of a uniform, share that before the colorization starts. Either way, keep the original black-and-white version beside the colored one, so nobody mistakes an artist’s choice for a documented fact.
Keep the Original Safe
Before any editing, scan the photo carefully. Archivists commonly suggest around 300 ppi for ordinary prints and 600 ppi for small, detailed or especially precious ones, saved in a lossless format such as TIFF or PNG rather than JPEG. If an editing app does not accept TIFF, export a separate JPEG copy for uploading.
Never overwrite that master file. Save the restored version under a new name, keep the physical print somewhere cool and dry, and store copies in more than one place. If restoration techniques improve in ten years, the untouched starting point will still be there.
Restoration works best with clear expectations. It can mend cracks, lift stains and bring faded tones back to life, but it cannot invent a moment the camera missed. Label what was repaired, keep the original next to it, and the family archive stays both beautiful and trustworthy.